This post is part of the YummyMummyClub.ca and the Nestlé Pure Life #RethinkYourDrink sponsored program. I received compensation as a thank you for my participation. This post reflects my personal opinion about the information provided by the sponsors.
Although my son is almost 2 years old now, I still consider myself to be a new mom….yes, that’s right I still feel “new” and I don’t think I’ll ever feel like the expert some people assume I am by now. Once my maternity leave ended, I joined the ranks of many others before me and found myself with two jobs – my day job and my all day/all night job as Mom of cutie pie Baby R. On top of still feeling “new,” my husband and I soon found our lives turning into a bit of a chaotic mess, involving a lot of scheduling, wrangling (I can’t believe how strong my son is!) and the sprint that is dinner/bath/bedtime every night.
In doing our best to take care of Baby R., we forgot about taking care of ourselves. Fast food and desserts washed down by wine and pop became the norm, all quick ways to treat ourselves either during the workday or after work and we both knew that these bad habits would catch up with us quickly. To top it all off, I found myself going back to my old bad habit of not drinking enough water. I know myself well enough to know that I wouldn’t be able to get rid of the bad stuff easily and that I would have to take baby steps to get healthier. Over the past few months, we’ve taken steps at home to reduce our fast food consumption and I’ve been trying to increase my water intake.
It was going okay but I knew I could do better, so Nestlé’s invitation to join their “Wellness Week Challenge” featuring Nestlé Pure Life Sparkling Water couldn’t have come at a better time. For 7 days, they challenged me to “rethink my drink”with one of their Nestlé Pure Life Sparkling products (each containing 0 calories and 0 sugar) in an effort to show everyone how easy it is to get more water into their diets. They sent me a beautiful tote bag with a few of their sparkling water products to get rolling, making it very easy for me to say yes (that’s right, that’s one less trip to the grocery store with a toddler, SCORE!).
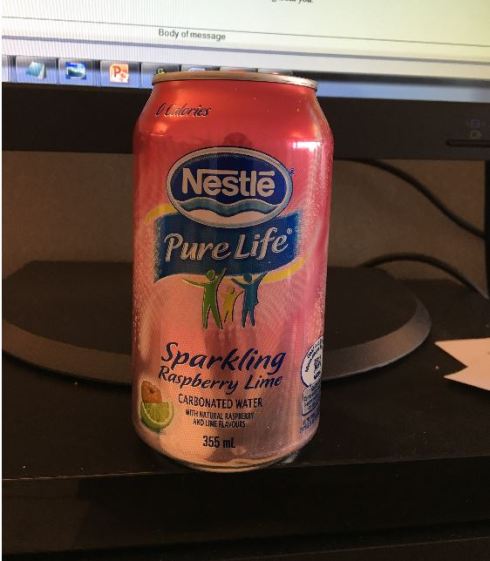
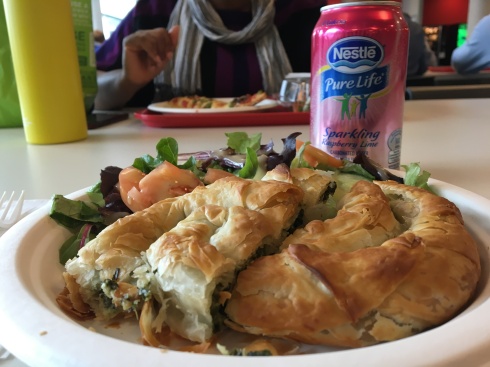
I received three products in my kit – one bottle each of their Nestlé Pure Life Sparkling Original and Lemon flavours and a case of 12 cans of their Raspberry-Lime flavoured sparkling water. In the fridge at home and work they went….

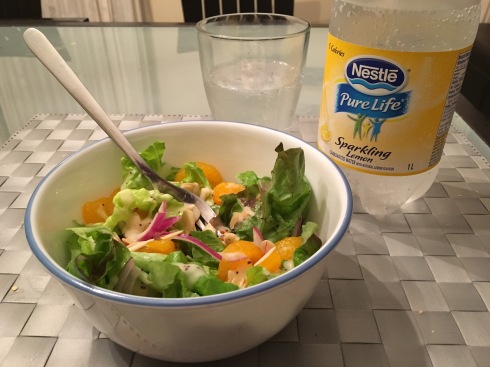
For the next 7 days, I tried each of the beverages straight up and in my favourite, sparkling drink recipes (see below), replacing my lunch or dinner beverage with sparkling water. My favourite flavour overall was the lemon one, I found the flavour to be clean and light enough that it wasn’t overpowering. While I was pregnant, I reduced the amount of sugary beverages I was consuming as I knew they would be terrible for Baby R., and for my health. The drink recipes below certainly came in handy for those days when I wanted to have something a little different. They were perfect for this challenge as they both dress up sparkling water quite nicely.
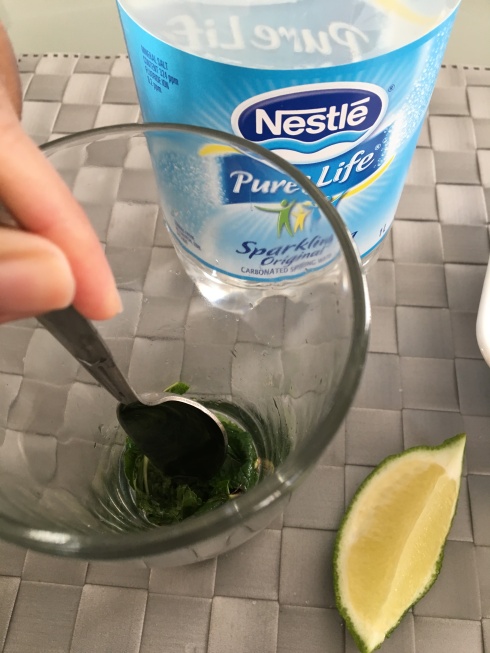
Sugarless Mock Mojito

One of my favourite non-alcoholic beverages….simple and delicious.
Makes 1 serving
Ingredients:
1 lime
2 springs of mint (washed)
1 bottle of Nestlé Pure Life Sparkling Original, chilled
1 tall glass
Ice (if desired, I didn’t use any)
Cut the lime in half and squeeze the juice from one half into your glass. Tear the mint leaves from one sprig of mint and put them into the glass along with the lime juice. Use a spoon to mash the mint leaves into the lime juice. Add some ice at this point if you would like some, and then top your drink off with some chilled Nestlé Pure Life Sparkling Original. Drop in the sprig of mint, garnish your glass with a slice of lime and enjoy!


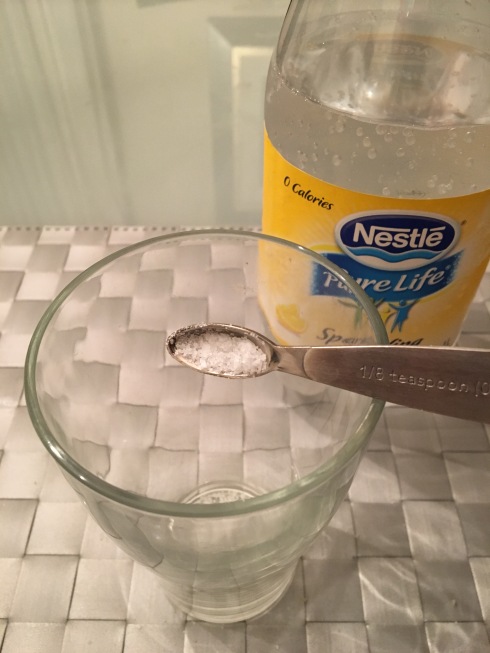
Sugarless Nimbu Pani

Nimbu pani is a thirst quenching Indian drink that my family introduced me to on my last trip to India.
Makes 1 serving.
Ingredients:
1 lime
1/8 teaspoon of kosher salt or rock salt (if you want a more pronounced salty taste, use ¼ teaspoon or more to taste)
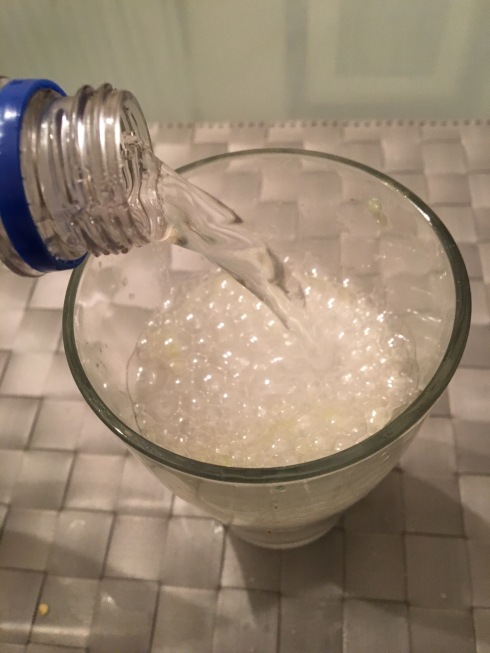
1 bottle of Nestlé Pure Life Sparkling Lemon or Original, chilled
1 tall glass
Ice (if desired, I didn’t use any)
Pour the 1/8 teaspoon of salt in the glass. Cut the lime in half and the juice from half of a lime into the glass. Mix well. Add some ice at this point if you would like some. Top your drink off with some chilled Nestlé Pure Life Sparkling Original. Garnish your glass with a slice of lime and enjoy!

Taking the challenge forced me to drink more water and I’m so glad it did. Habit change is so much easier to achieve by setting smaller daily goals and adding one more glass of water a day was an easy change to make. I’ve now upped that amount and I’ve added 2 additional glasses of water per day and I find myself feeling less hungry and sluggish which is fantastic. Taking Nestlé’s challenge reminded me that healthy hydration is key to keeping my mind alert and body functioning at its best and it’s as simple as adding more water to my diet. As my son gets taller, faster and stronger I will need to be on my game even more than ever as I try to stop each and every impending disaster!
Nestlé Pure Life Sparkling is available in a variety of tasty formats and flavours including:
- Recyclable 1L bottles in Lemon, Lime, Mandarin Orange, Black Cherry and Original.
- 355 ml cans in three flavours – Lemon-Lime, Raspberry-Lime and Mango- Peach-Pineapple
If you end up taking the challenge, be sure to let me know and share your wisdom about sparkling water using hashtag #RethinkYourDrink – good luck!
Want the easiest challenge you’ll ever take and maybe win a trip in the process?
It’s time to Rethink Your Drink! Register online at Sparkling7DayChallenge.ca and pledge to switch out one of your regular drink choices for a Nestlé Pure Life Sparkling water once a day for seven days.
Not only will you receive a coupon to save $3 off a case of Nestlé Pure Life Sparkling Water, six Canadians will have the chance to win a luxurious weekend away in Toronto.
It’s time to add some sparkle to your life. Register now.